WebUI Forge Colab Tutorial:Use Flux Model in WebUI
Learn to use the latest Flux AI model with WebUI Forge on Google Colab - no GPU required. Step-by-step guide for setting up and running stable diffusion models in your browser. Perfect for creating AI art without expensive hardware


For Thai people click HERE
📣 Having issues? Report problems at facebook.com/promptalchemist
👉 Click here to access ComfyUI on Google Colab Click Here
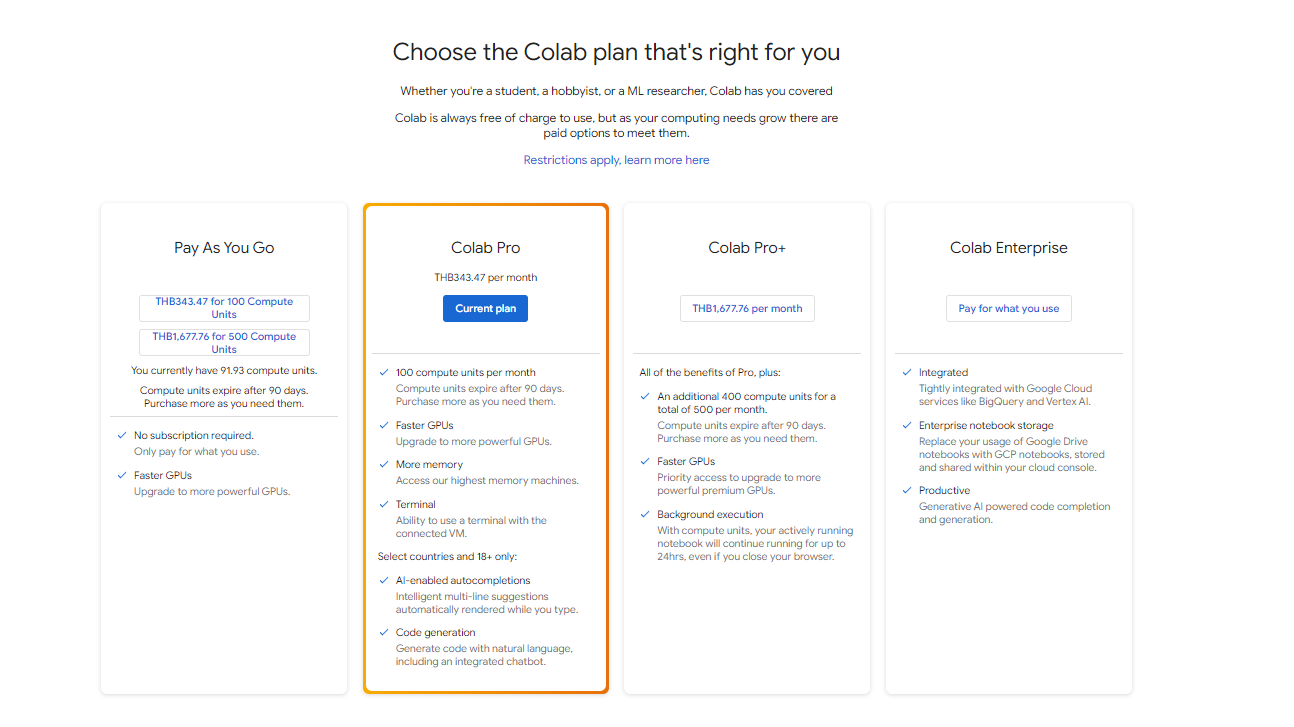
Subscribe to Google Colab Pro
Due to Google's policy restricting free Colab usage for Stable Diffusion, a Colab Pro subscription is required at $9.99/month. This provides 100 Compute units (approximately 50 hours of usage). Unused units roll over to the next month and additional units can be purchased as needed.
📝 Subscribe to Google Colab Pro Click Here

Step-by-Step: Running WebUI Forge on Google Colab
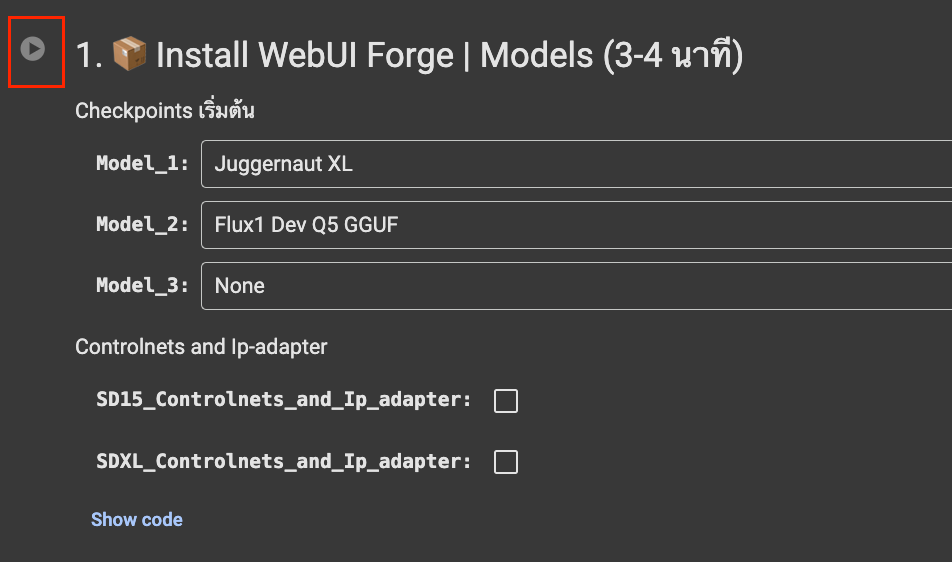
Overview of Prompt Alchemist's WebUI Forge Colab Interface

- Select your models

We have both SDXL and Flux
- Next, click Run next to 'Install WebUI Forge' to begin installation

If you see this warning, click 'Run anyway

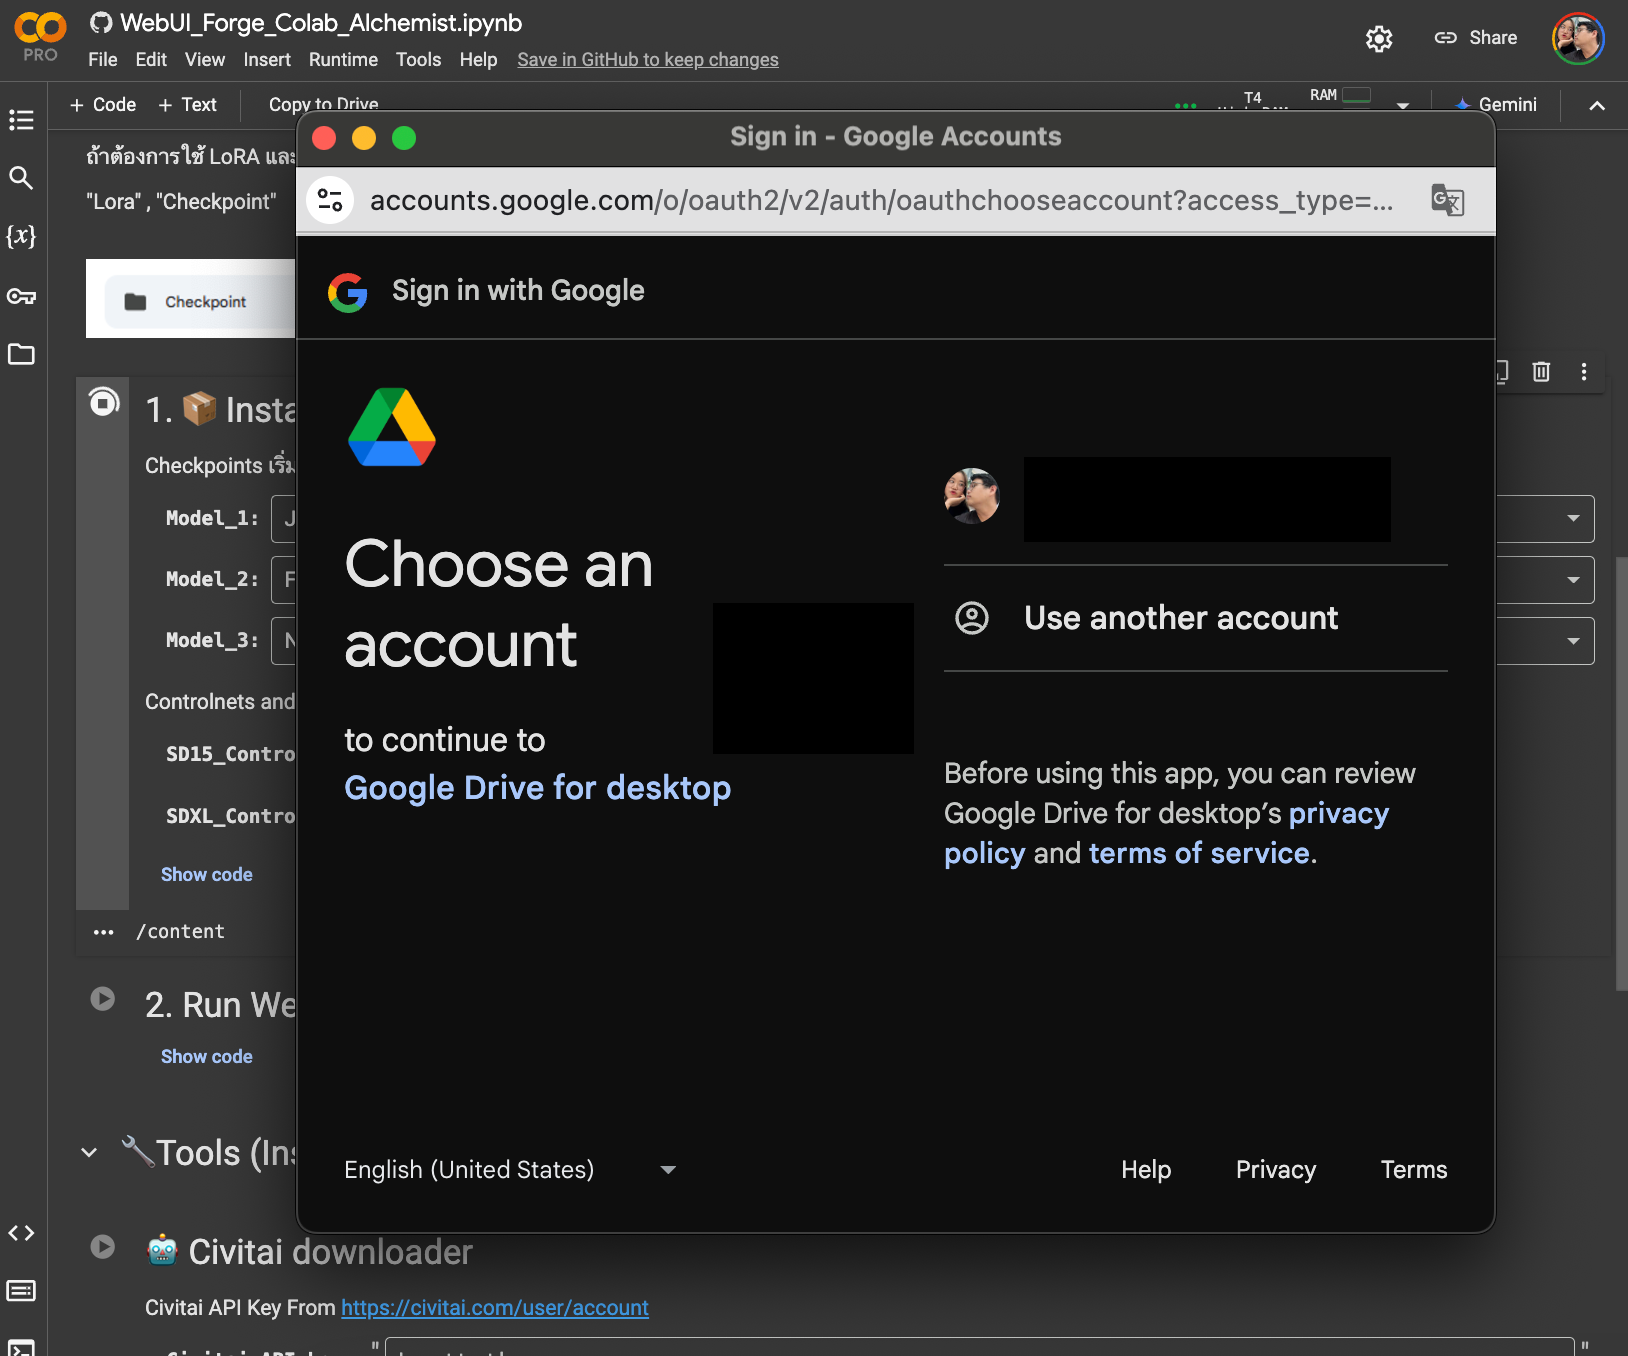
- Wait for the popup requesting permission to connect to Google Drive.
Press "Connect to Google Drive"

Select your Gmail then press "proceed"

- Wait approximately 3-4 minutes (depending on model size) until you see a green 'Complete' message"

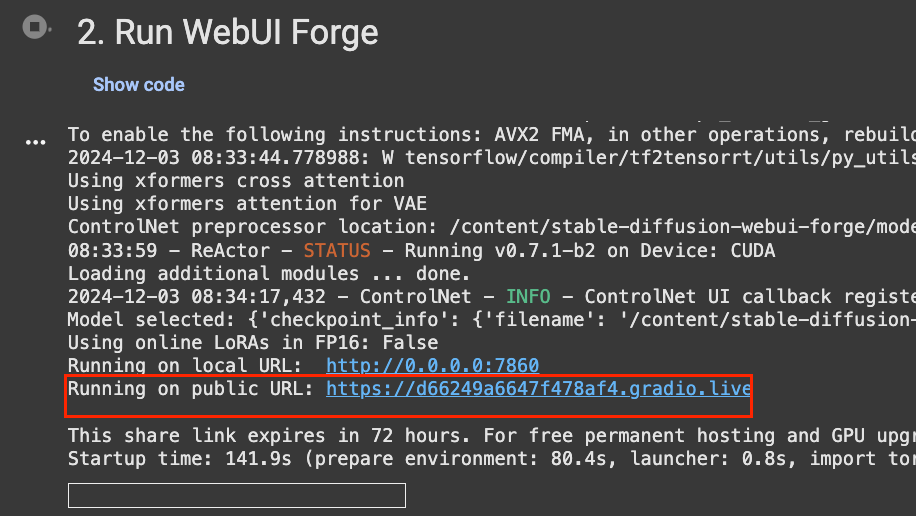
- Next, click on the '2. Run WebUI Forge' tab and wait a moment

- Shortly after, you'll receive a program access link as shown in the image

There you go 😁

How to turn it off
When you're finished, remember to close the session to save your Compute Units.
Click the button in the top right corner of Google Colab and select 'Disconnect and delete runtime'

How to add more models
Create folders in Google Drive
"Lora" for LoRA
"Checkpoint" for Checkpoint

When you run the first step, Google Colab will connect to Google Drive and automatically copy model files (larger or multiple models will increase setup time)
